
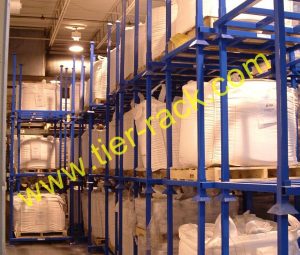
Bespoke STACKING RACKS
CUSTOM-ENGINEERED STACK RACKS
Portable and nestable stack rack to store and move any size product under any scenario. Move and store more efficiently, higher, and with more versatility with stack racks built for you.
Design the perfect stack rack for your needs with over 50 customization options to choose from.
Your company isn't generic — your storage shouldn't be either
A custom rack that doesn't cost custom-rack prices.
Load-Nesters protect products from damage, condense seasonal inventory into dense storage, contain hard-to-store items, and cut material-handling costs across manufacturing, warehousing, shipping, and cold storage. Because we buy steel by the truckload and build in low-overhead plants, you only pay for the features you need. Not sure this is your rack? Explore all portable stack racks, nesting racks, and industry applications.
Store denser, taller
Stack fully loaded racks 3–5 high without crushing product below.
Move it anywhere
Relocate by forklift, hoist, or caster — no fixed shelving to bolt down.
Collapse when empty
Nest or fold flat to slash return-shipping and off-season storage space.
Built to fit
Sized to your product, your forks, and your dock — down to the RAL paint code.
Step 1 — Choose a base model
Four Load-Nester bodies, one for every load.
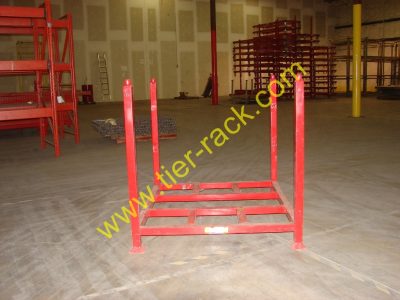
Start with the frame that matches how your product sits and how empty racks come back. Most Load-Nesters have removable posts and nesting bases so empties store flat — the LN-4 is fully welded and nests as one piece.
Which one? Palletized loads → LN-2. Not sure where to start → the LN-3 is our most popular, most versatile design. High-turn empties you want welded and simple → LN-4. Wide, cumbersome material → LN-5. Compare the family on our nesting racks and stack racks pages.

Load-Nester 2
A pallet loads inside the front posts, with back posts set in to stop it from sliding further back — easy to load and hard to fail. Posts remove and bases nest for storage.
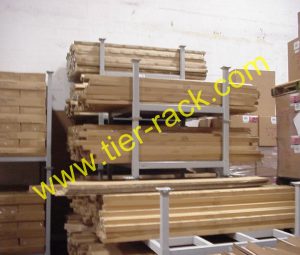
Load-Nester 3
Our most popular and versatile rack — the four-corner-post design from our stock options. Posts remove and bases nest for storage.
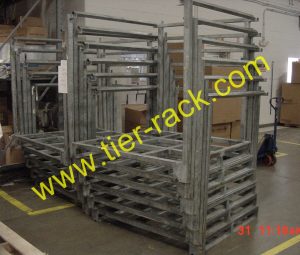
Load-Nester 4
A fully welded, one-piece rack that nests together when not in use.
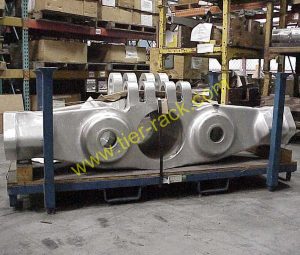
Load-Nester 5
Perfect for wide, cumbersome materials that other racks can't handle. Posts remove and bases nest for storage.
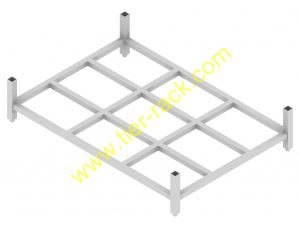
Step 2 — Base design & interior support
Buy only as much rack as your load requires.
Four base designs, each with a different structural benefit. Match the base to your product’s weight and footprint so you’re not paying for steel you’ll never use — your salesperson helps you pick.
Best for: heavy point loads like coils or castings lean toward B-3/B-4; lighter, even loads run fine on B-1/B-2. Not sure your load rating is safe? Our engineering team will size it for you.

B-1 Base
Lightest, most economical base for lighter, evenly distributed loads.
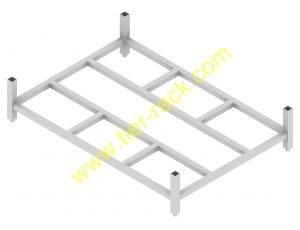
B-2 Base
Added support for medium loads or products that concentrate weight.
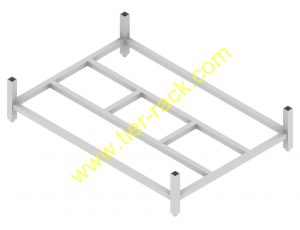
B-3 Base
Reinforced framing for heavier or wider footprints.
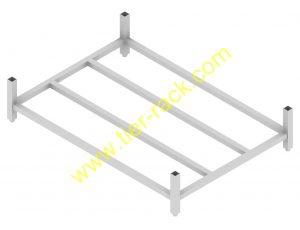
B-4 Base
Maximum interior support for the heaviest, most demanding loads.
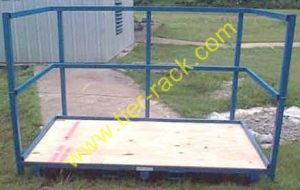
Step 3 — Decking surface
Pick the surface your product actually needs.
An inexpensive way to make one rack hold many different products. Choose a solid deck for small parts, an open deck for drainage and airflow, or a wood deck for gentle contact — all sized to your load.
Best for: wash-down and cold storage → wire mesh or perforated steel for drainage; loose small parts → solid sheet or plywood; wet or outdoor plant stock → open decks that breathe. See it on our wire-deck racks and nursery racks.

Plywood
Smooth, solid surface for boxes, totes, and small parts.
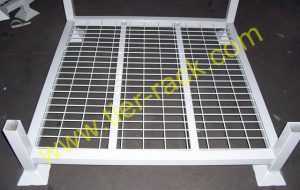
Wire Mesh
Open deck for drainage, airflow, and clear sightlines to product.
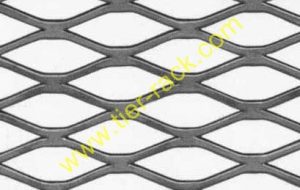
Flat Expanded Metal
Strong, ventilated steel surface that resists snags and buildup.
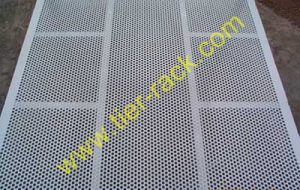
Perforated Steel
Solid feel with drainage holes — good for wash-down environments.
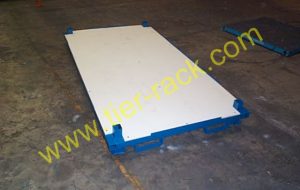
Plastic
Non-marring, easy-clean surface for finished or food-grade goods.
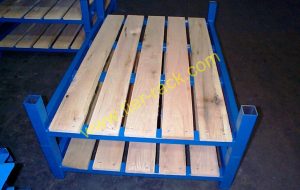
Deckboards
1x6 wood boards for heavier point loads and gentle contact.
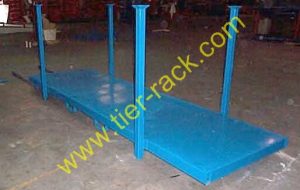
Solid Sheet Metal
Fully closed deck that contains loose parts and small components.
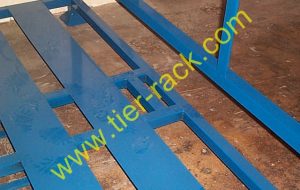
Sheet Metal Strips
Slatted steel that balances strength, drainage, and cost.
Step 4 — Posts & stacking connections
Stack securely — then decide how they come apart.
Posts carry the load above; the cap-and-target connection controls how one rack locks onto the next. Choose fixed posts for maximum strength, or removable posts to knock down flat and cut freight costs.
Best for: in-house storage that stays put → fixed posts and standard caps/targets; racks that ride back empty on a truck → removable posts that collapse flat, like our folding racks and movable racks.

Fixed Posts
Welded to the base — nothing to lose, rated for several thousand pounds.
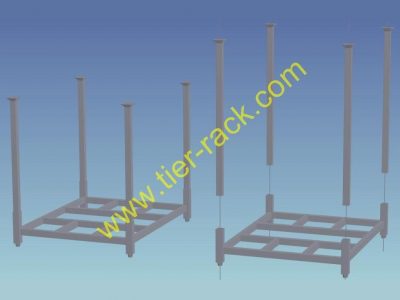
Removable Posts
Pull the posts to collapse empties flat and save on container space.
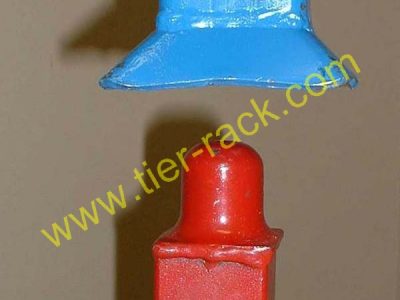
Caps Up / Targets Down
Standard stacking geometry for clean, self-aligning stacks.
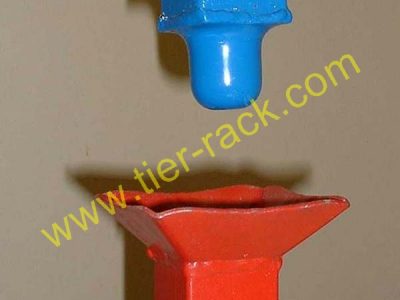
Caps Down / Targets Up
Reversed geometry to suit how your racks orient on the line.
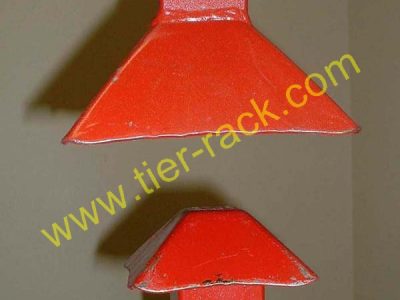
Mushroom
Wide seating target for fast, forgiving alignment when stacking.
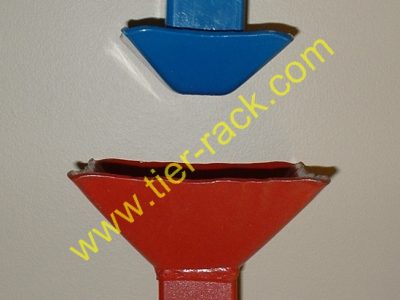
Reverse Mushroom
Inverted seating for specialized stacking and handling needs.
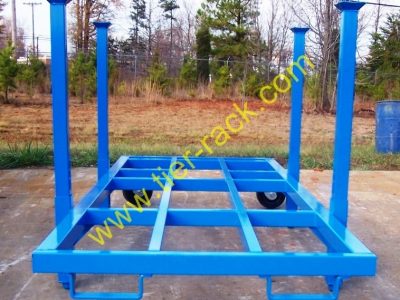
Step 5 — Fork & lift access
Lift every rack from exactly the right spot.
Guide your forks to the optimal lift point every time, or rig for overhead hoisting. Fewer mis-lifts means less product damage and safer handling across the floor.
Best for: busy shipping docks and automotive shipping racks → fork tubes for locked-in 2-way/4-way entry; crane bays and heavy coils → hoist rings. Need a seismic or engineered lift rating? See seismic functionality.

Fork Stirrups
Guide the forks to the ideal lift point — available for 2-way or 4-way entry.
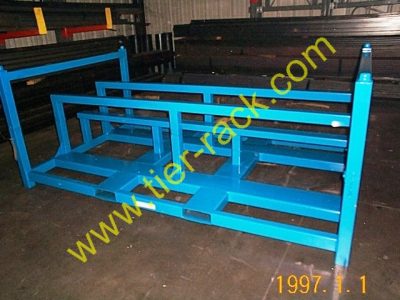
Fork Tubes
Enclosed channels add strength and lock the forks to the exact location.
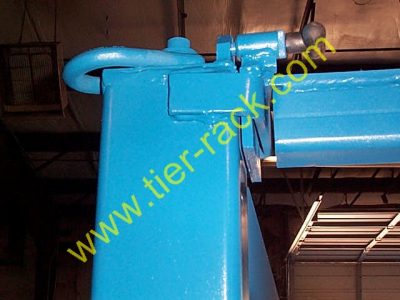
Hoist Rings
Rated lift points let you safely raise the rack with an overhead hoist.
Step 6 — Mobility
Turn a static rack into a rolling cart.
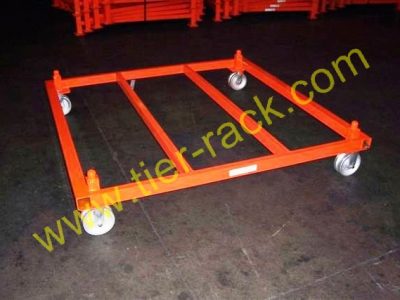
Stop waiting on a lift truck for every move. Add casters or runners and your operators reposition racks by hand — perfect for pick lines, cells, and tight staging areas.
Best for: assembly cells and order-pick lines where product moves to the operator. Casters and runners turn any Load-Nester into one of our warehouse carts or movable racks.

Casters
Rigid or swivel, with or without brakes, in a range of wheel types and capacities — move racks manually, anytime.
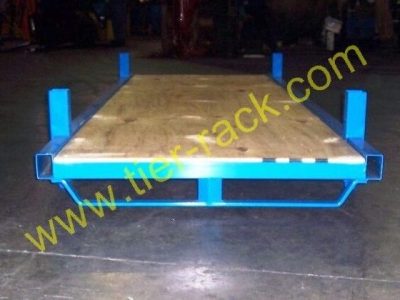
Runners
Skid-style runners for operators who'd rather push racks across the floor without casters.
Step 7 — Containment & sides
Turn an open rack into a secure bin.
Add panels to keep loose or awkward product in place, then fold the sides down when the rack ships back empty to reclaim floor space and freight cost.
Best for: bulk, loose, or tumbling product — bagged goods, castings, recycled material. Panels convert a rack into a bin; see finished examples in our storage bins and bulk bag racks.

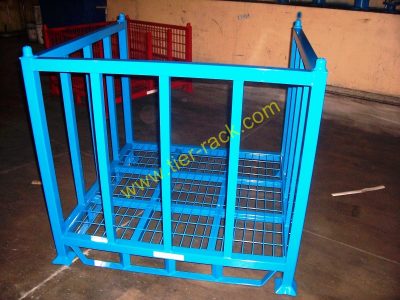
Containment Panels
Solid or mesh side panels convert a rack into a bin for loose or stacked goods.
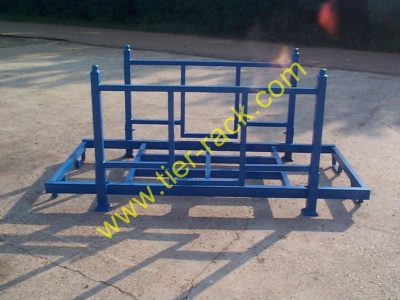
Side Frames
Removable side frames add containment where and when you need it.
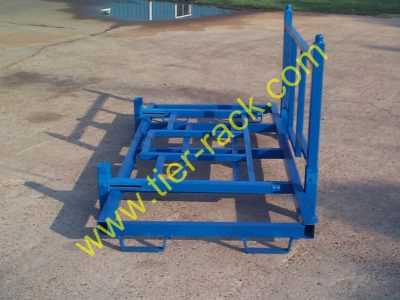
Fold-Down Sides
Collapse the sides on empty racks to cut storage space and return-shipping costs.
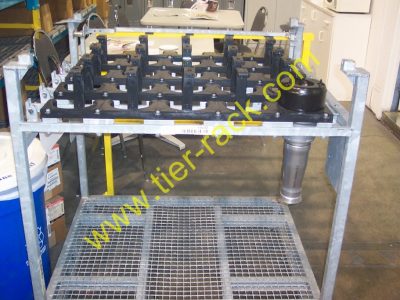
Step 8 — Product protection
Cradle fragile and high-value parts in transit.
Custom interior dunnage holds each part exactly where it belongs so nothing shifts, rubs, or dents in transport — the same approach that protects automotive body panels shipment after shipment.
Best for: painted panels, glass, machined parts, and other high-value goods that can’t touch each other in transit — the backbone of our automotive racks and shipping racks.

Interior Dunnage
Metal, plastic, or rubber cradles built to the shape of your product to prevent damage in motion.
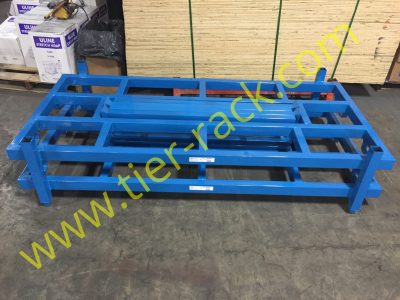
Post Storage
On-rack storage for removable posts so parts stay with the rack and never go missing.
Step 9 — Branding & finish
Make it durable, and make it yours.
Powder-coat in any color to fight corrosion and color-code your fleet, then stencil on names, capacities, and tracking numbers so every rack is identifiable at a glance.
Best for: multi-site fleets and rental pools that need color-coding and asset tracking. All finishing is done in-house — learn more about our powder coating services.

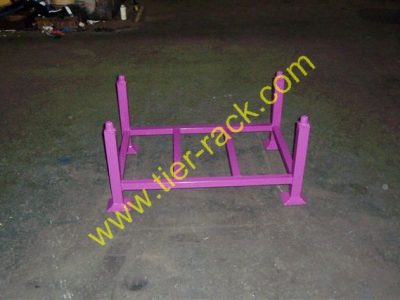
Custom Paint Colors
Pick a color or an exact RAL number — we powder-coat racks in any shade you specify.
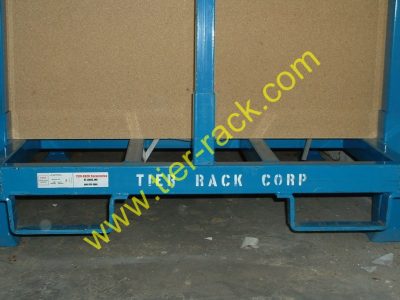
Stencils
Add your company name, capacity, or tracking numbers to each rack at a nominal cost.
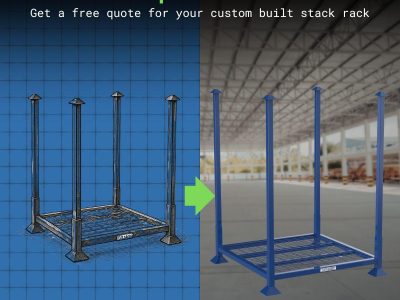
And Many More
Have a requirement you don't see here? It's probably one we've built before — just ask us.

Whether you need 10 racks or 100,000 — let's spec yours.
Tell us your product, your load, and how it moves. We’ll design the Load-Nester that fits, quote it at truckload-buying prices, and prove nobody does it better than Tier-Rack.